How to dry fiber based prints from your darkroom.

As you maybe know, printing in the darkroom is big fun (if you have a good negative). Mainly I use RC coated paper from Ilford (pearl) and it gives very nice results for the regular prints.

In case however you want something more special then you should concider Ilford Fiber based paper.

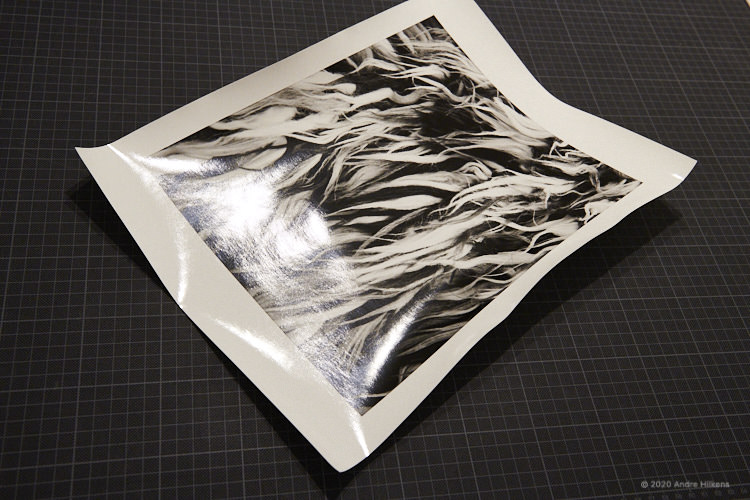
It gives you very nice and deep blacks that will create a three dimensional look to your print. However the biggest downside is that when it is dried it curls like mad (towards the image).
I have tried several solutions and the one that works best for me is a bit more time consuming but will provide you flat prints ready for matting. Another advantage is that it does not require special tools or equipment.

This is how a fiber based paper from your darkroom will look like once it is dry. Not really flat is it?

So let’s find out what you need to do.

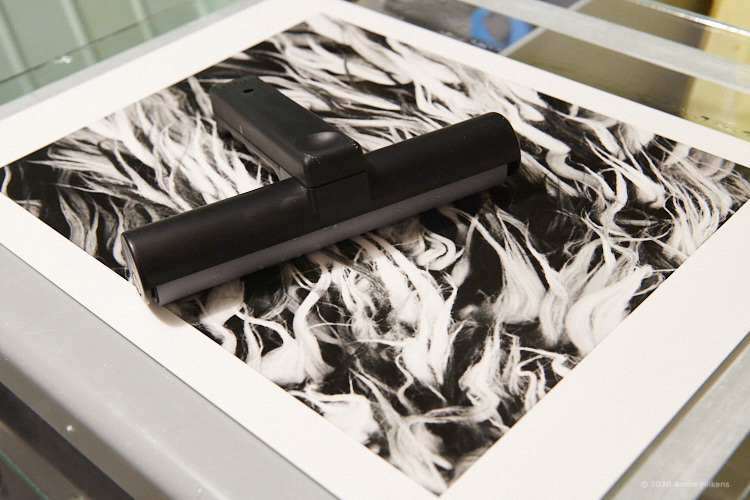
After you have washed your fiber based print it will contain a lot of water like a sponge. To get rid of most of the water inside the paper I use a roller to squeeze out most of it. First you place the fresh print onto some hard and flat surface (I use 6mm regular glass ) and make sure it is ABSOLUTELY clean before you start rolling with the beforementioned roller.
Reason is that if there is only a tiny bit of dirt on the glass surface it will become visible in your print and there is no way to get rid of it, so this step is very important.

Don’t push like mad onto this roller but with some pressure just enough to push water out of the paper. Then dry the edges of the glass with a dry towel so that the surface around the print is dry and clean.

This is the squeegee roller I use. It has a hard surface and will easily squeeze out water from the paper.

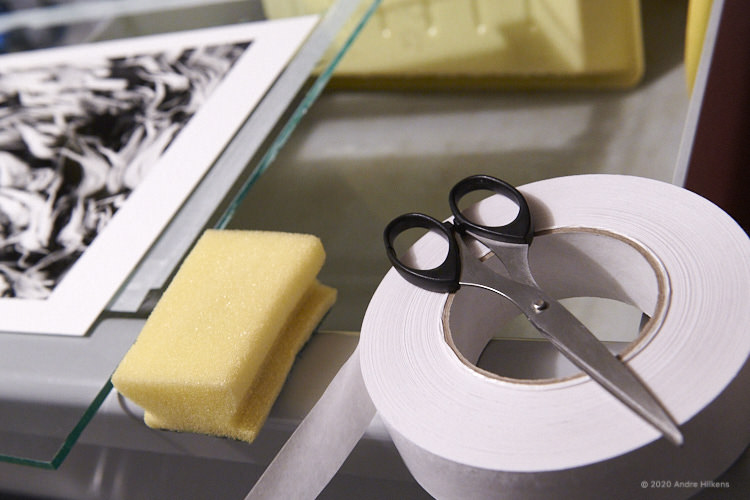
Now use the special aquarel tape (watercolor tape) and wetten it just a little bit. There is shiny side and a matt side on this tape. The shiny side is were the glue is. Wetten this side with a sponge like you would do with an old-fashioned poststamp. Not too wet !

If you make it too wet then the glue will creap under the paper and makes it stick to the surface. In case this has happened the only thing you can do is put the glass with its print under water until all is released again and carefully start over.
Don’t rush anything.

Sponge (lightly wettened) and aquarel tape and pair of scissors to cut the tape to the correct length.

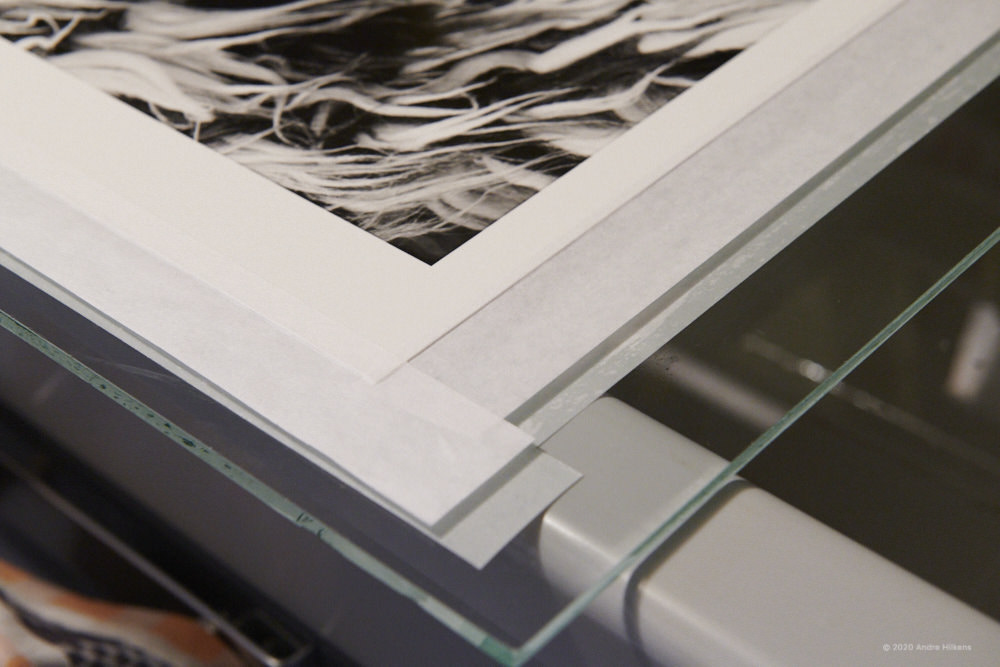
Now you are ready to tape the print to the surface.
Do not place the tape too close to the paper edge since it might not hold, since what will happen now is that in the next 24 – 48 hours when the paper is drying it will shrink and it will shrink quit a bit. So it means there will be quit some force pulling on the tape.

Fresh print taped to the glass carier. (2 prints can go on 1 carier. One at the top and one at the bottom)

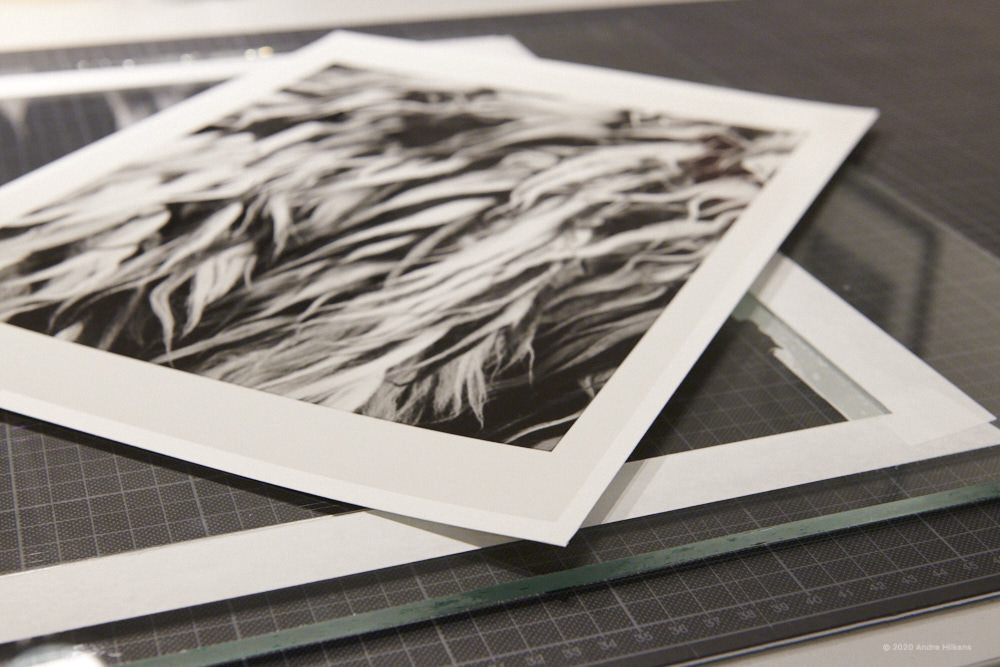
Once the print is dry (at regular room temperature it might take 24 – 48 hours, so don’t rush anything) and the tape remained on the glass you can use a sharp knife to cut alongside the edge of the print. There will be a small amount of tape remaining on the paper which, afterwards, can be cut off if you like. I just leave it like it is.

Cutting along the edge of the paper

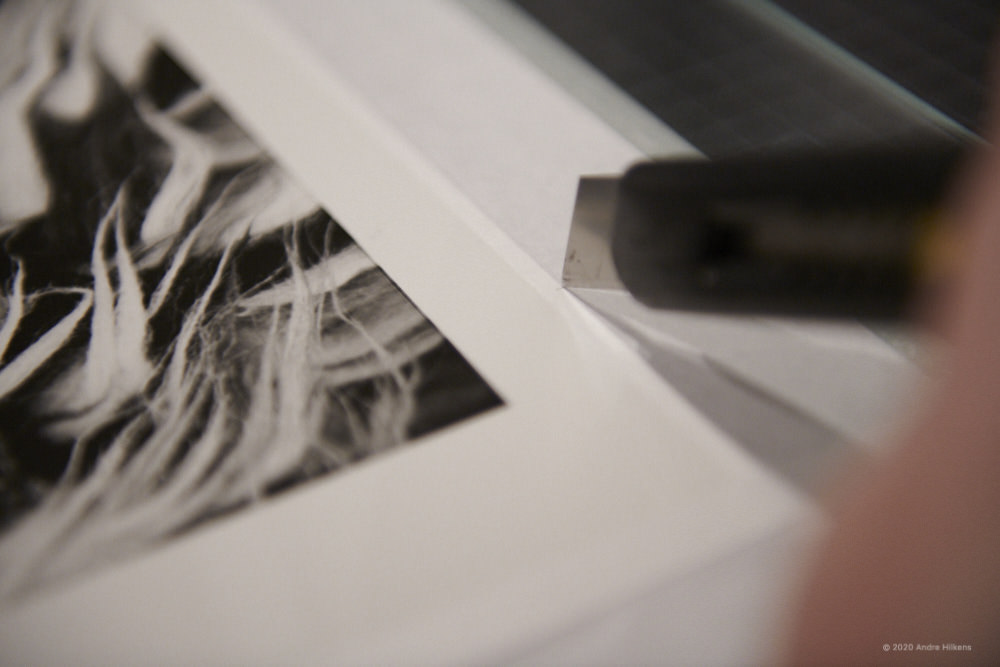
Important note: While drying, place the glass with its print FLAT on a table. This gives the best results. What you will endup with is a very nice and FLAT fiber based print ready for matting.

Flat print after 32 – 48 hours of drying.

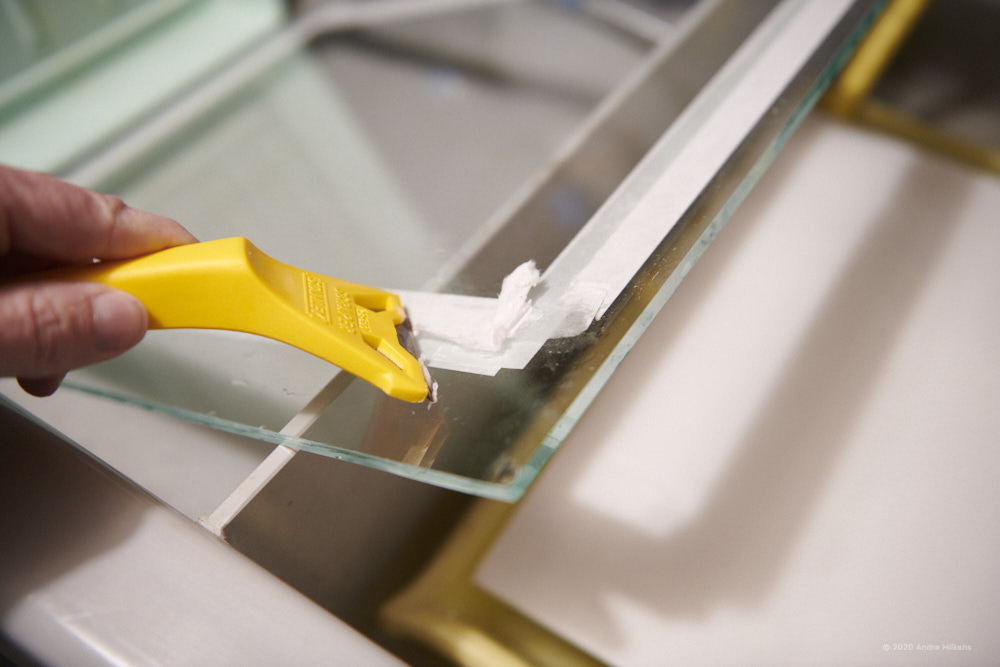
Once you are finished you have to clean the remaining tape from the glass surface. Just wetten it with enough water and use some sort of knife to remove the tape (see picture) . It goes off really easy if you wetten the tape enough. Now it’s ready for your next print.

Final TIP: I use the glass carier on both sides.

Cleaning the glass carier for your next print.

Happy Printing !! Keeping the analogue spirit alive.

Hope you liked this small article. In case you have other ideas just let me know in a reply.

How to develop B&W film in 7 easy steps.


Developing B&W film at home is fun and as easy as saying one two three, or Do Re Mi for our music minded photographers.

Shooting Film is a very rewarding process if you do it correctly and work in a consistant way.


Step 1

Once your film is full with hopefully nice and interesting images you are ready to start the process of developing them. (if this is your first attempt in developing B&W film then just shoot some test images)
First make sure that your film spirals are fully dry. When they are wett of even damped you will NOT be able to get the film onto the holder.
Unload the film from your camera and pull out the leader from the 35mm holder a little bit. Don’t pull out too much since this will then be exposed to light. You just pull out enough to load into the developing spiral. 10 centimeters is normally enough and no images will be in this area.
After you pulled the leader out a little bit use a pair of scissors to cut the film right after the leading edge. Make sure you cut straight and between the sprockets holes. Now cut on both sides a tiny edge off from the film edges so that the film does not stick in the spiral and moves forward a bit easier.
Now you are ready to load the film onto the spiral for the first few centimeters until it is under the two small metal balls. Until now this step can all be done under normal light.

Step 2

Now put the film spiral and all items from the tank into the daylight film changing bag. Don’t forget the pair of scissors.
Close the bag properly and stick your hands into the bag. Don’t forget to remove your apple watch or other light-emitting items on your wrists).
Next find the items and create some room inside the bag. Get organised even if you can’t see anything.
Now slowly , without any force, start rotating one side of the spiral so that the film will be transported onto the film holder. SLOWLY !! NO FORCE since it might damage your film.
Once you are at the end you will feel that it will not go any further. Do NOT use ANY force. Now search for your scissors ( inside the bag of course) and cut the film loose from it’s casette. Rotate the film spiral further so that the film in full lenght is wound onto the film spiral.
Now put the film holder inside the film developing tank and add the lid + cover.
All set???
OK, you are now ready to take out your hands from the bag and take out all items. If you closed the tank properly insde the bag then it is protected against light when you take it out. No reason to check or proof this by standing in full sunlight with the tank in your hands.

Step 3

So now that the film is inside your develping tank we are ready to start with the actual developing of the film.

Step 4

Step 4 is here

Step 5