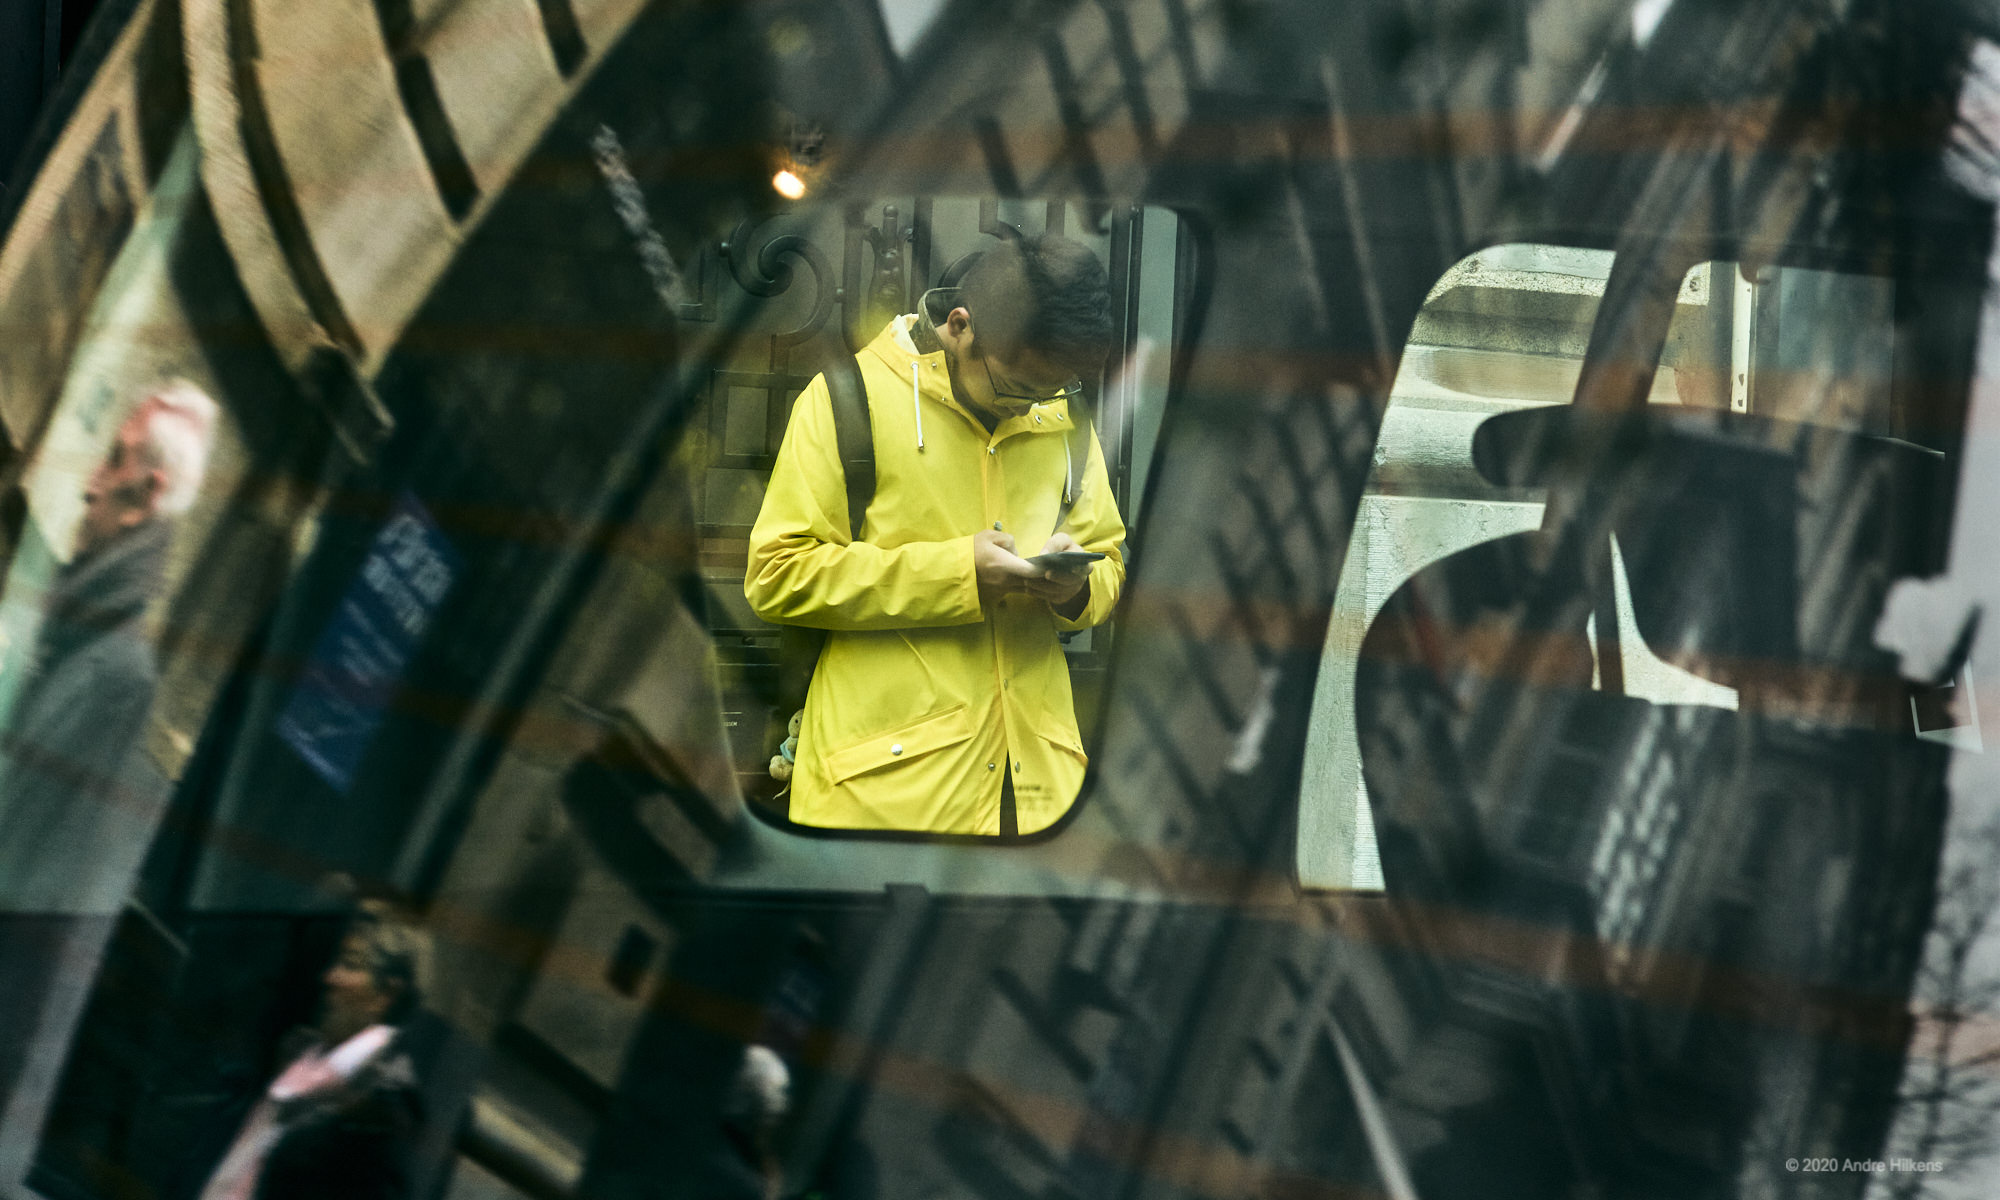

Developing B&W film at home is fun and as easy as saying one two three, or Do Re Mi for our music minded photographers.
Shooting Film is a very rewarding process if you do it correctly and work in a consistant way.
Step 1
Once your film is full with hopefully nice and interesting images you are ready to start the process of developing them. (if this is your first attempt in developing B&W film then just shoot some test images)
First make sure that your film spirals are fully dry. When they are wett of even damped you will NOT be able to get the film onto the holder.
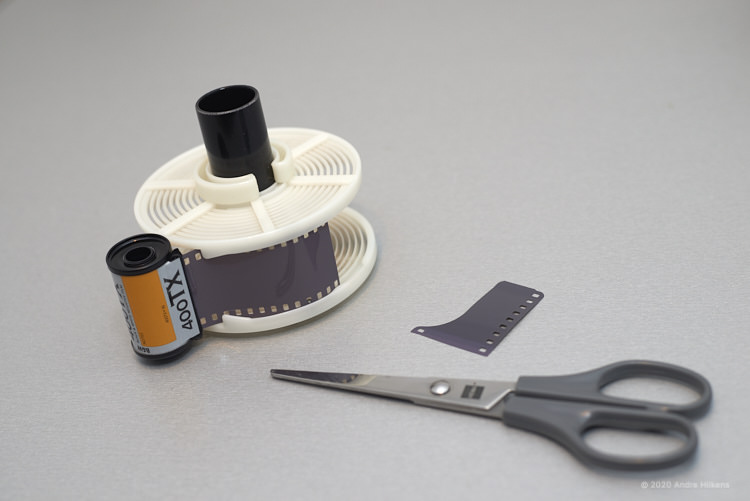
Unload the film from your camera and pull out the leader from the 35mm holder a little bit. Don’t pull out too much since this will then be exposed to light. You just pull out enough to load into the developing spiral. 10 centimeters is normally enough and no images will be in this area.
After you pulled the leader out a little bit use a pair of scissors to cut the film right after the leading edge. Make sure you cut straight and between the sprockets holes. Now cut on both sides a tiny edge off from the film edges so that the film does not stick in the spiral and moves forward a bit easier.
Now you are ready to load the film onto the spiral for the first few centimeters until it is under the two small metal balls. Until now this step can all be done under normal light.
Step 2
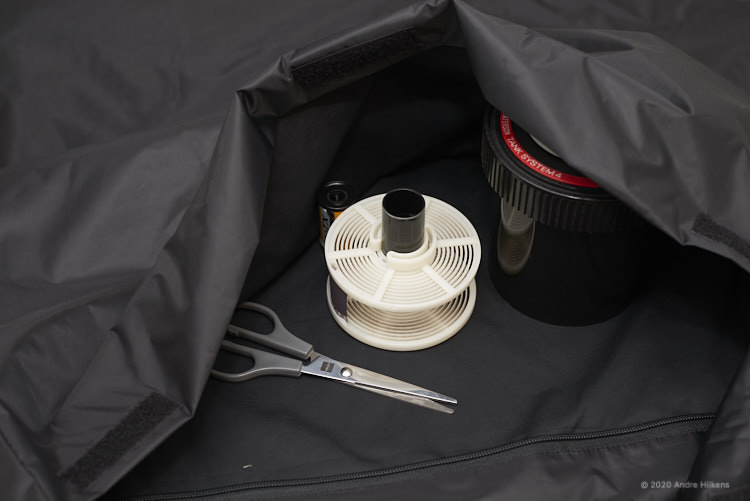
Now put the film spiral and all items from the tank into the daylight film changing bag. Don’t forget the pair of scissors.
Close the bag properly and stick your hands into the bag. Don’t forget to remove your apple watch or other light-emitting items on your wrists).
Next find the items and create some room inside the bag. Get organised even if you can’t see anything.
Now slowly , without any force, start rotating one side of the spiral so that the film will be transported onto the film holder. SLOWLY !! NO FORCE since it might damage your film.
Once you are at the end you will feel that it will not go any further. Do NOT use ANY force. Now search for your scissors ( inside the bag of course) and cut the film loose from it’s casette. Rotate the film spiral further so that the film in full lenght is wound onto the film spiral.
Now put the film holder inside the film developing tank and add the lid + cover.
All set???
OK, you are now ready to take out your hands from the bag and take out all items. If you closed the tank properly insde the bag then it is protected against light when you take it out. No reason to check or proof this by standing in full sunlight with the tank in your hands.
Step 3
So now that the film is inside your develping tank we are ready to start with the actual developing of the film.
Step 4
Step 4 is here
Step 5